Graphical Program Element Editing
Note: Please refer to the Program Element section first before proceeding if you have missed it.
With the Program Elements tab selected, right click on the tree view and select the Graphical Editor pop up menu.
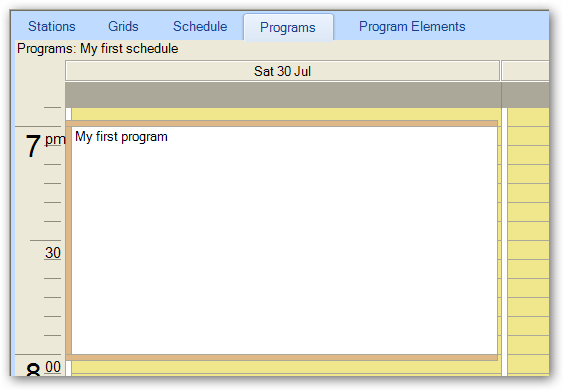
Program Elements are a sub division of a Program. To start working with the individual program elements for any particular program, highlight the program from the Grid Editor, Programs tab, then select the Program Elements tab.

Graphical Program Element Editing
Note: Please refer to the Program Element section first before proceeding if you have missed it.
With the Program Elements tab selected, right click on the tree view and select the Graphical Editor pop up menu.

Observe the multi-track editor dialog box that pops up.
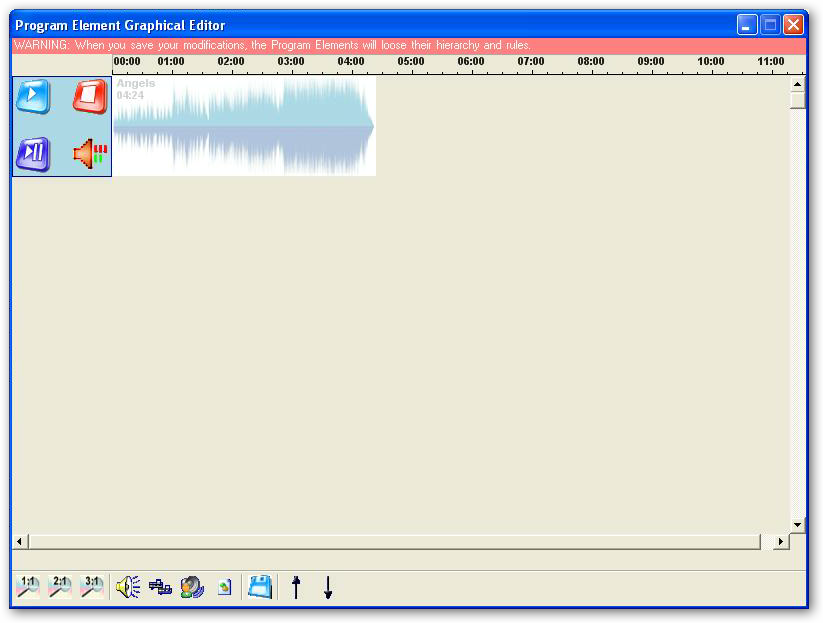
The ruler at the top of the dialog box displays time in minutes from the start of the program.
![]()
The space below the ruler is where you will be adding and managing program elements.
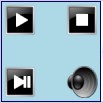
For each program element added, a control box is displayed to its left.
The program element's audio representation is displayed to the right of the control box.
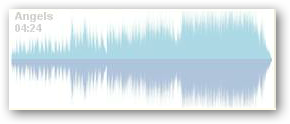
The graphical audio representation has the name of the audio displayed at the top left edge and below it you will get the duration of the audio file.
The dialog box has more controls accessible for editing at the bottom of the box.
We start from the left with 3 zoom levels. Clicking on any of those buttons will readjusts the zoom factor and size of the displayed graphical audio representation.

To the right of the zoom buttons there is a list of buttons which allows you to add, songs, jingles, commercials, and a non-automation program element, in sequential order.

Following the buttons which allows you to add audio files, �you have the Save button. Save your work frequently.

To the right of the save button you have the move up and move down buttons which allow you to shuffle the sequence of the selected audio track or audio element.

Adding new audio elements
There are two main ways of adding audio elements (audio tracks) to the graphical editor.
1.� The audio buttons to the right of the zoom buttons 
2.� By dragging and dropping audio files from the Windows explorer or a file browse window, provided you have already registered these audio files with Broadcast Power (refer to the Media Entry Article for more details).
Adding audio elements using the bottom bar buttons
Click on the adding songs button to add a new song from our database. This will add a new track to the graphical editor and brings up the program element properties dialog box to allow you to alter the properties of the default song track added.
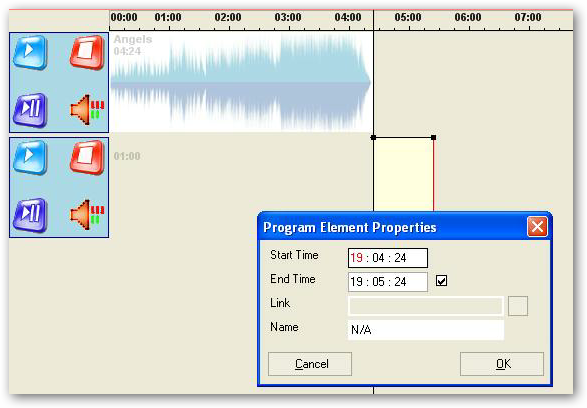
As we are adding a new song here, let's tick off the End Time check box, clear the name and then click on the Link box to start searching for a song.
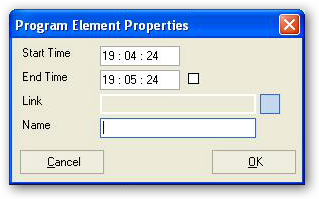
After selecting a song from the database.
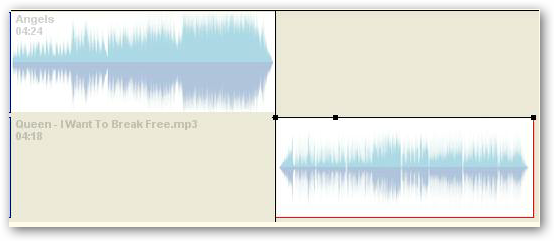
Click on the zoom 3:1 button to zoom in and scroll to view the intersecting point at the black vertical line.
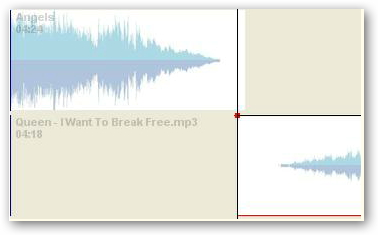
Now click on the second song and drag to the left to overlap the audio. Blank areas are silence in the audio file.
It is recommended that you clean up the audio files by removing any silence before entering into Broadcast Power. We have left the silence in the files here for demo purposes.
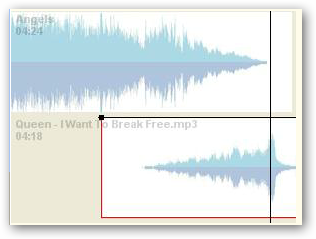
Click on save to persist your changes to the database and before we continue with the exercise.
Preview the mix
To preview your work, highlight the first audio file at the point prior to the mix and then click on the spacebar on your keyboard. Clicking on the spacebar on your keyboard a second time will stop the playback.
You can identify the selected audio track by the red border displayed.
The selected point on the audio track is shown as a vertical black bar over the audio display.
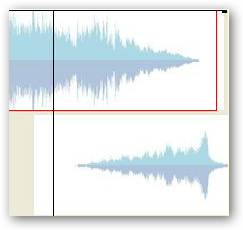
When playback starts, the vertical black bar will start moving to reflect the playback position.
Adding audio elements using drag and drop
Select a file from the Windows file explorer or any alternative file explorer you might be using and drop it on the graphical editor dialog box.
Provided the file you have selected is already registered with Broadcast Power, the audio should now display as a new track on the graphical editor dialog box.
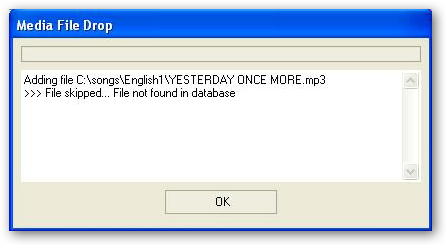
Broadcast Power will display a status dialog box with a list of files dropped along with info on whether they were added or not.
This is a successful result of adding a file.
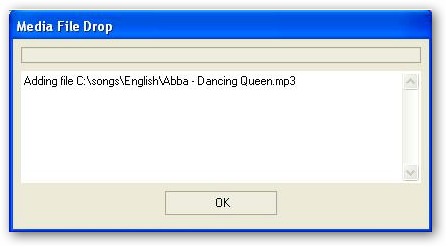
The file added will be displayed similar to the below.
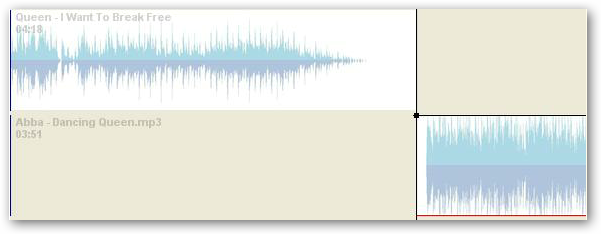
The result of a failed dropped file will look similar to the screen snap below.
Volume envelope editing
As you may have noticed, the third song we have added has a high volume start. We will overlap it with the previous song by dragging it to the left and then start changing its volume envelope to make the mix sound smoother.
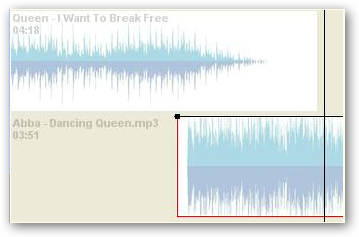
The volume envelope is shown overlapped on the graphical audio representation as a solid horizontal black line, unless you have previously applied a mix style to it.
The volume envelope has control points to which you can add or remove others to suit your particular situation, provided that there is at least a starting and ending point. The system will not allow you to delete the starting and ending volume envelope control points.
If you move your mouse pointer to overlap the volume envelop control point, its color changes to red.

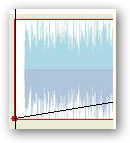
Drag the starting point which is shown highlighted above to the bottom of the audio.
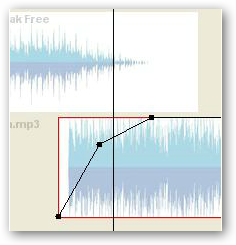
We will add two new volume envelope point to the right of the first point an adjust their locations within the audio track to suit our listening needs.
To add a new volume envelope point, move your mouse pointer to the desired location on the track where you want the point to be added, press the control key and keep pressing it on your keyboard and use the mouse left button to click then release the control key when done.
To remove an existing volume envelope point, highlight the point with your mouse, press on the Alt key on your keyboard in a similar fashion to adding points, click the left mouse button and the point is removed.
Audio track properties
To modify a track's properties, right click with your mouse over the audio track and select properties from the pop up menu.
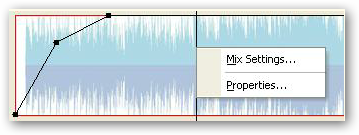
The program element properties dialog box will pop up.
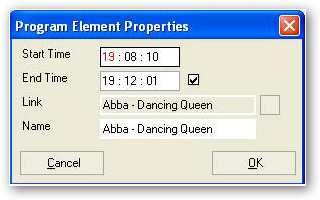
Modify the properties to your requirements and click on OK. Clicking on Cancel will discard the dialog box.
Mix settings
If you have a large number of audio tracks added but do not want to manually overlap them and adjust their volume envelope, Broadcast Power has an easy feature to assist you with your task.
Right click on any track and select the Mix Settings option from the pop up menu.
Note: It is important that you save your work before proceeding.
If you have not saved your changes yet, the system will prompt you to save them.
You will have to save any changes before you continue, otherwise the mix settings will discard any modifications you have made since the last time you saved your work.

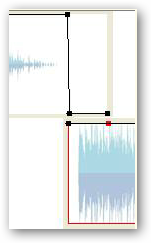
The mix settings dialog allows you to select the default mix, mix duration in and out.
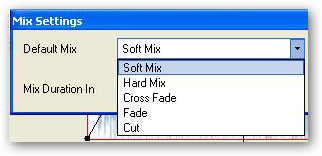
The effect of the default mix with mix in duration of 4 and mix out duration of 4 is shown below.
Soft Mix
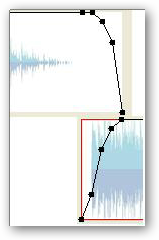
Hard Mix
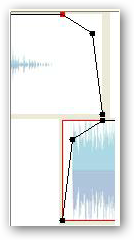
Cross Fade
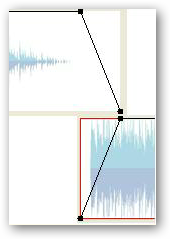
Fade
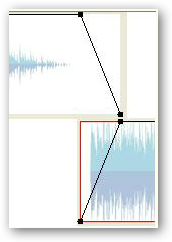
Cut
Finally, we hope you will enjoy this extensive set of features and expect more to come.
Copyright � 2011, Emile Bassil
Created with the Freeware Edition of HelpNDoc: Easily create CHM Help documents